Posts tonen met het label strikeuptheband. Alle posts tonen

dinsdag 25 mei 2021

Stampin with Liz Design: SugarPea Designs Strike Up the Band Card!

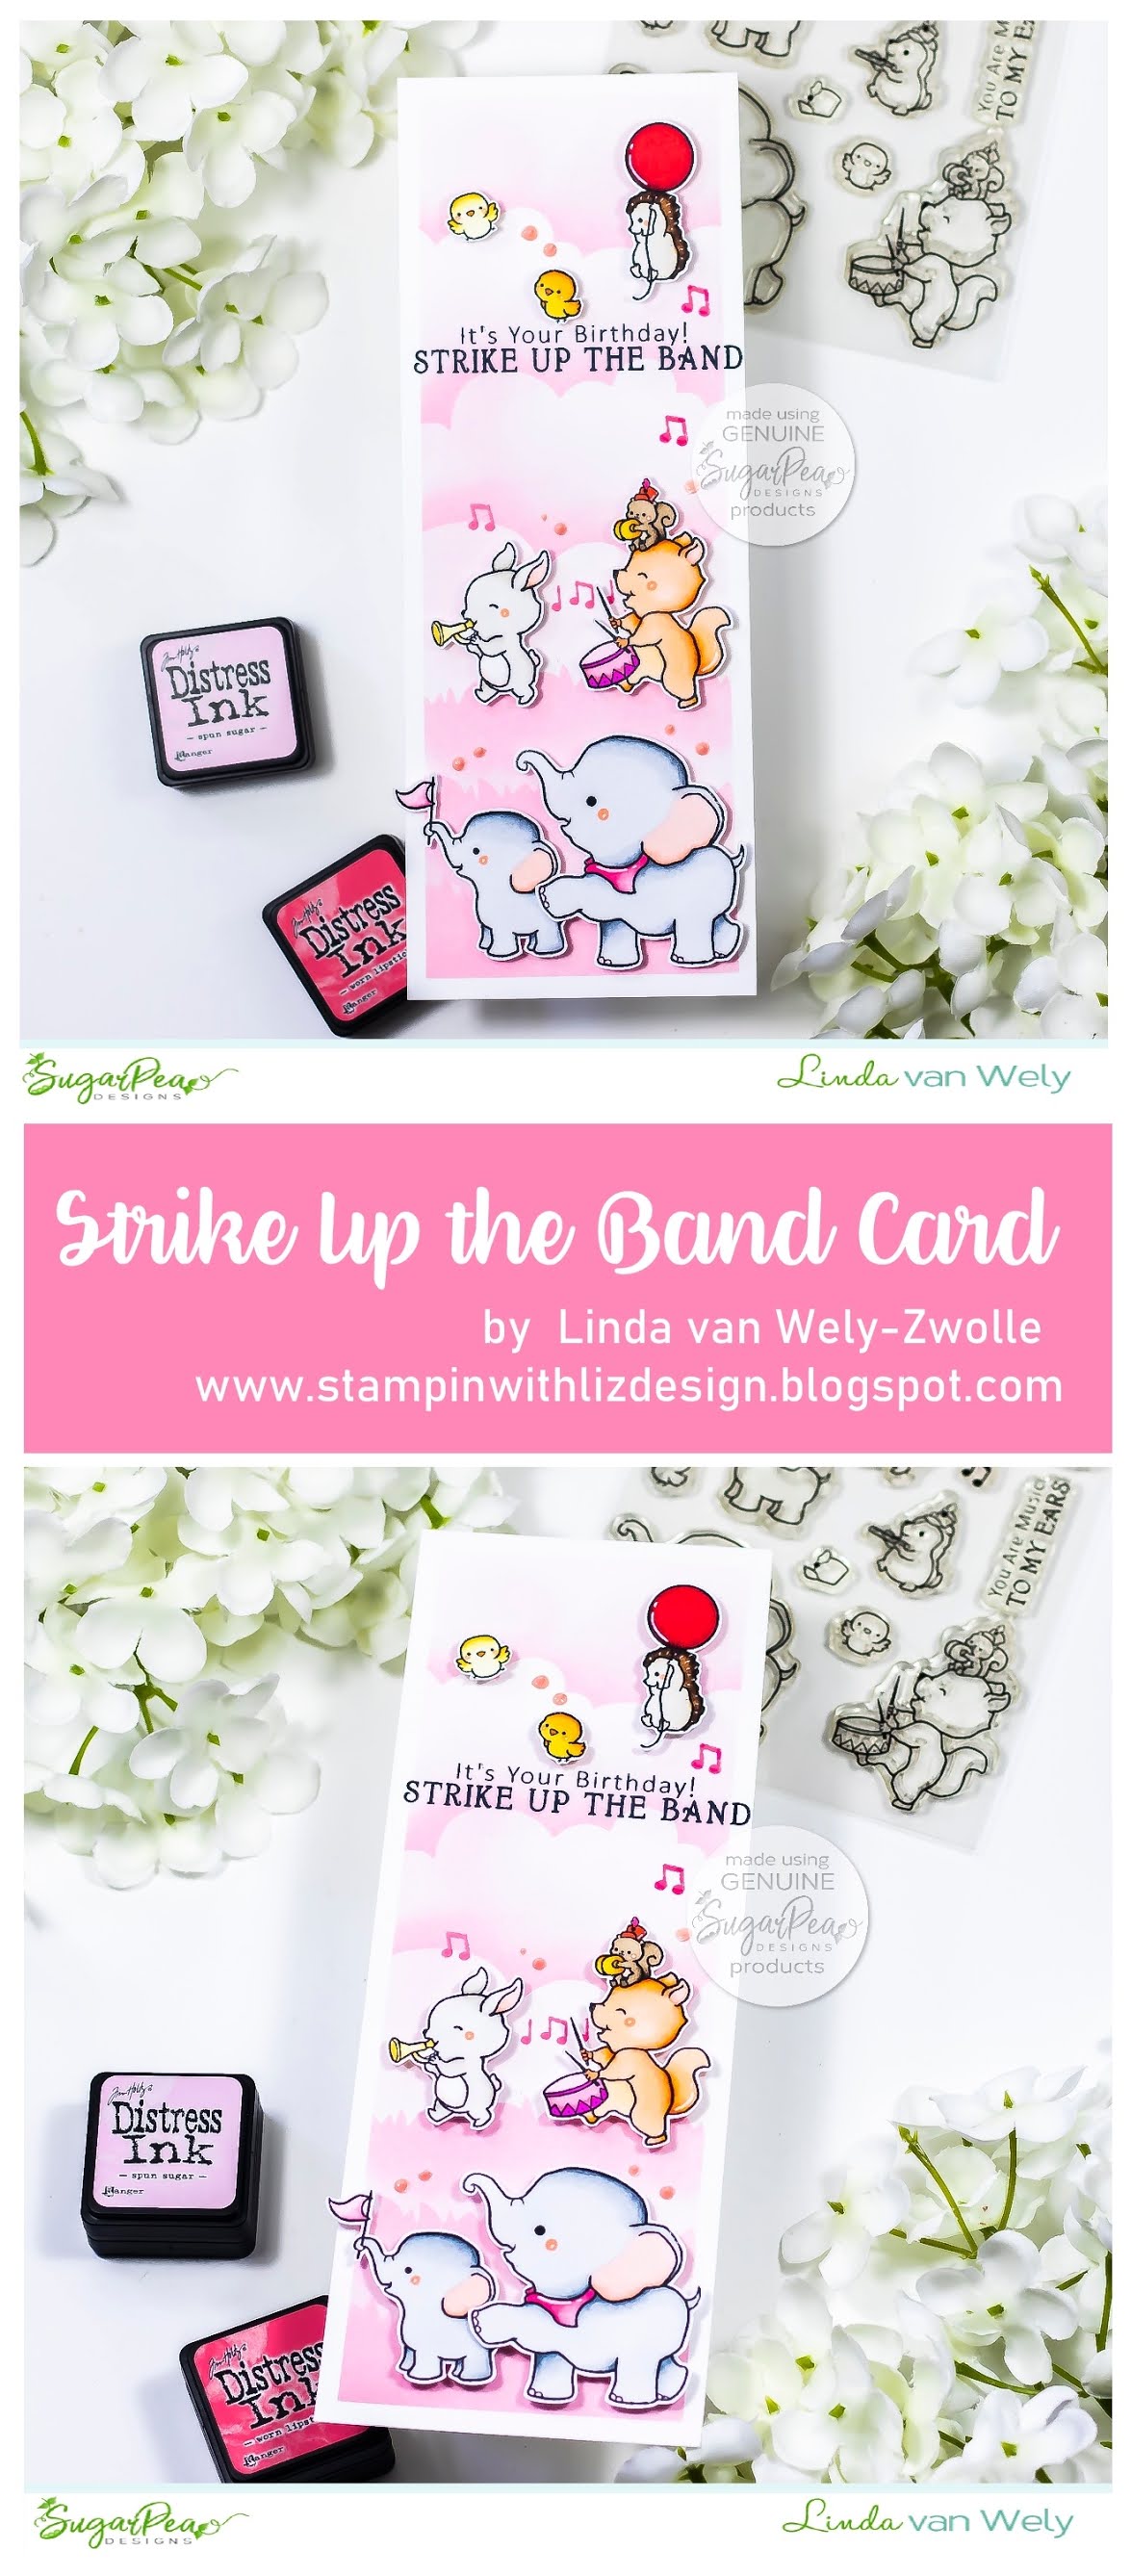
Hi there everyone! Today I'm sharing a new card over at the SugarPea Designs blog! I created this card with on of my favorite stamp sets, called Strike Up the Band! I just love the cute critters in this set playing their music!


I choose a slimline base for this card, and masked the sides with masking tape to keep them clean and white. I blended a soft pink background after masking, using the Outdoor Scene Builder stencil, to create the grass and clouds with!


I then stamped the text 'It's Your Birthday! Strike Up The Band' in the upper middle and added some music notes, using a pink ink. I added some Nuvo Drops, to make it even more fun and then stamped, diecutted and coloured all the cute images from the stamp set, before adding them on to this adorable card using dimensionals.


Thank you so much for watching today, hope to see you next time! 

https://www.facebook.com/StampinwithLizDesign/?ref=bookmarkshttps://www.youtube.com/channel/UC94CUqin1kXfhno_CpAZB_g?view_as=subscriber


dinsdag 2 juni 2020

Stampin with Liz Design: SugarPea Designs Strike Up the Band Card!

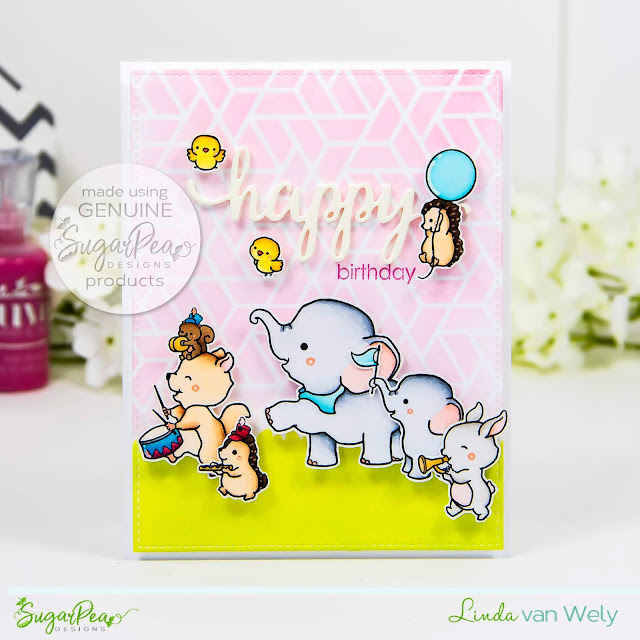
Hi everyone! Today I'm over at the SugarPea Designs blog with a new, very adorable card! These cute critters are from the gorgeous stamp set Strike Up the Band! Don't you just love these fun guys?


I started this card with a white card base, which I left just a few millineters bigger then A2 size which is approximately 4 1/4" x 5 1/2"). I then diecutted a piece of white cardstock with a Stitched Rectangle die from the Card Front Element Builder SugarCut. I blended a fun background on this front panel using the Geo Tri Hex stencil, a blending tool, Worn Lipstick and Spun Sugar Distress Oxide ink from Ranger. 


I then added grass at the bottom of my card using the new Outdoor Scene Builder stencil and Twisted Citron Distress Oxide ink. I stamped and diecutted the fun images from the stamp set, diecutted them and coloured them with Copic Markers. I added them on to my front panel with dimensionals. I then diecutted the word Happy from white foam with the Happy Thoughts die and stamped the text Birthday from the Happy Thoughts stamp set in pink just underneath. To finish this adorable card, I added my front panel with dimensionals on to my card base. Hope you enjoyed this cuteness overload!

Thank you so much for watching today, hope to see you next time!

https://www.facebook.com/StampinwithLizDesign/?ref=bookmarkshttps://www.youtube.com/channel/UC94CUqin1kXfhno_CpAZB_g?view_as=subscriber